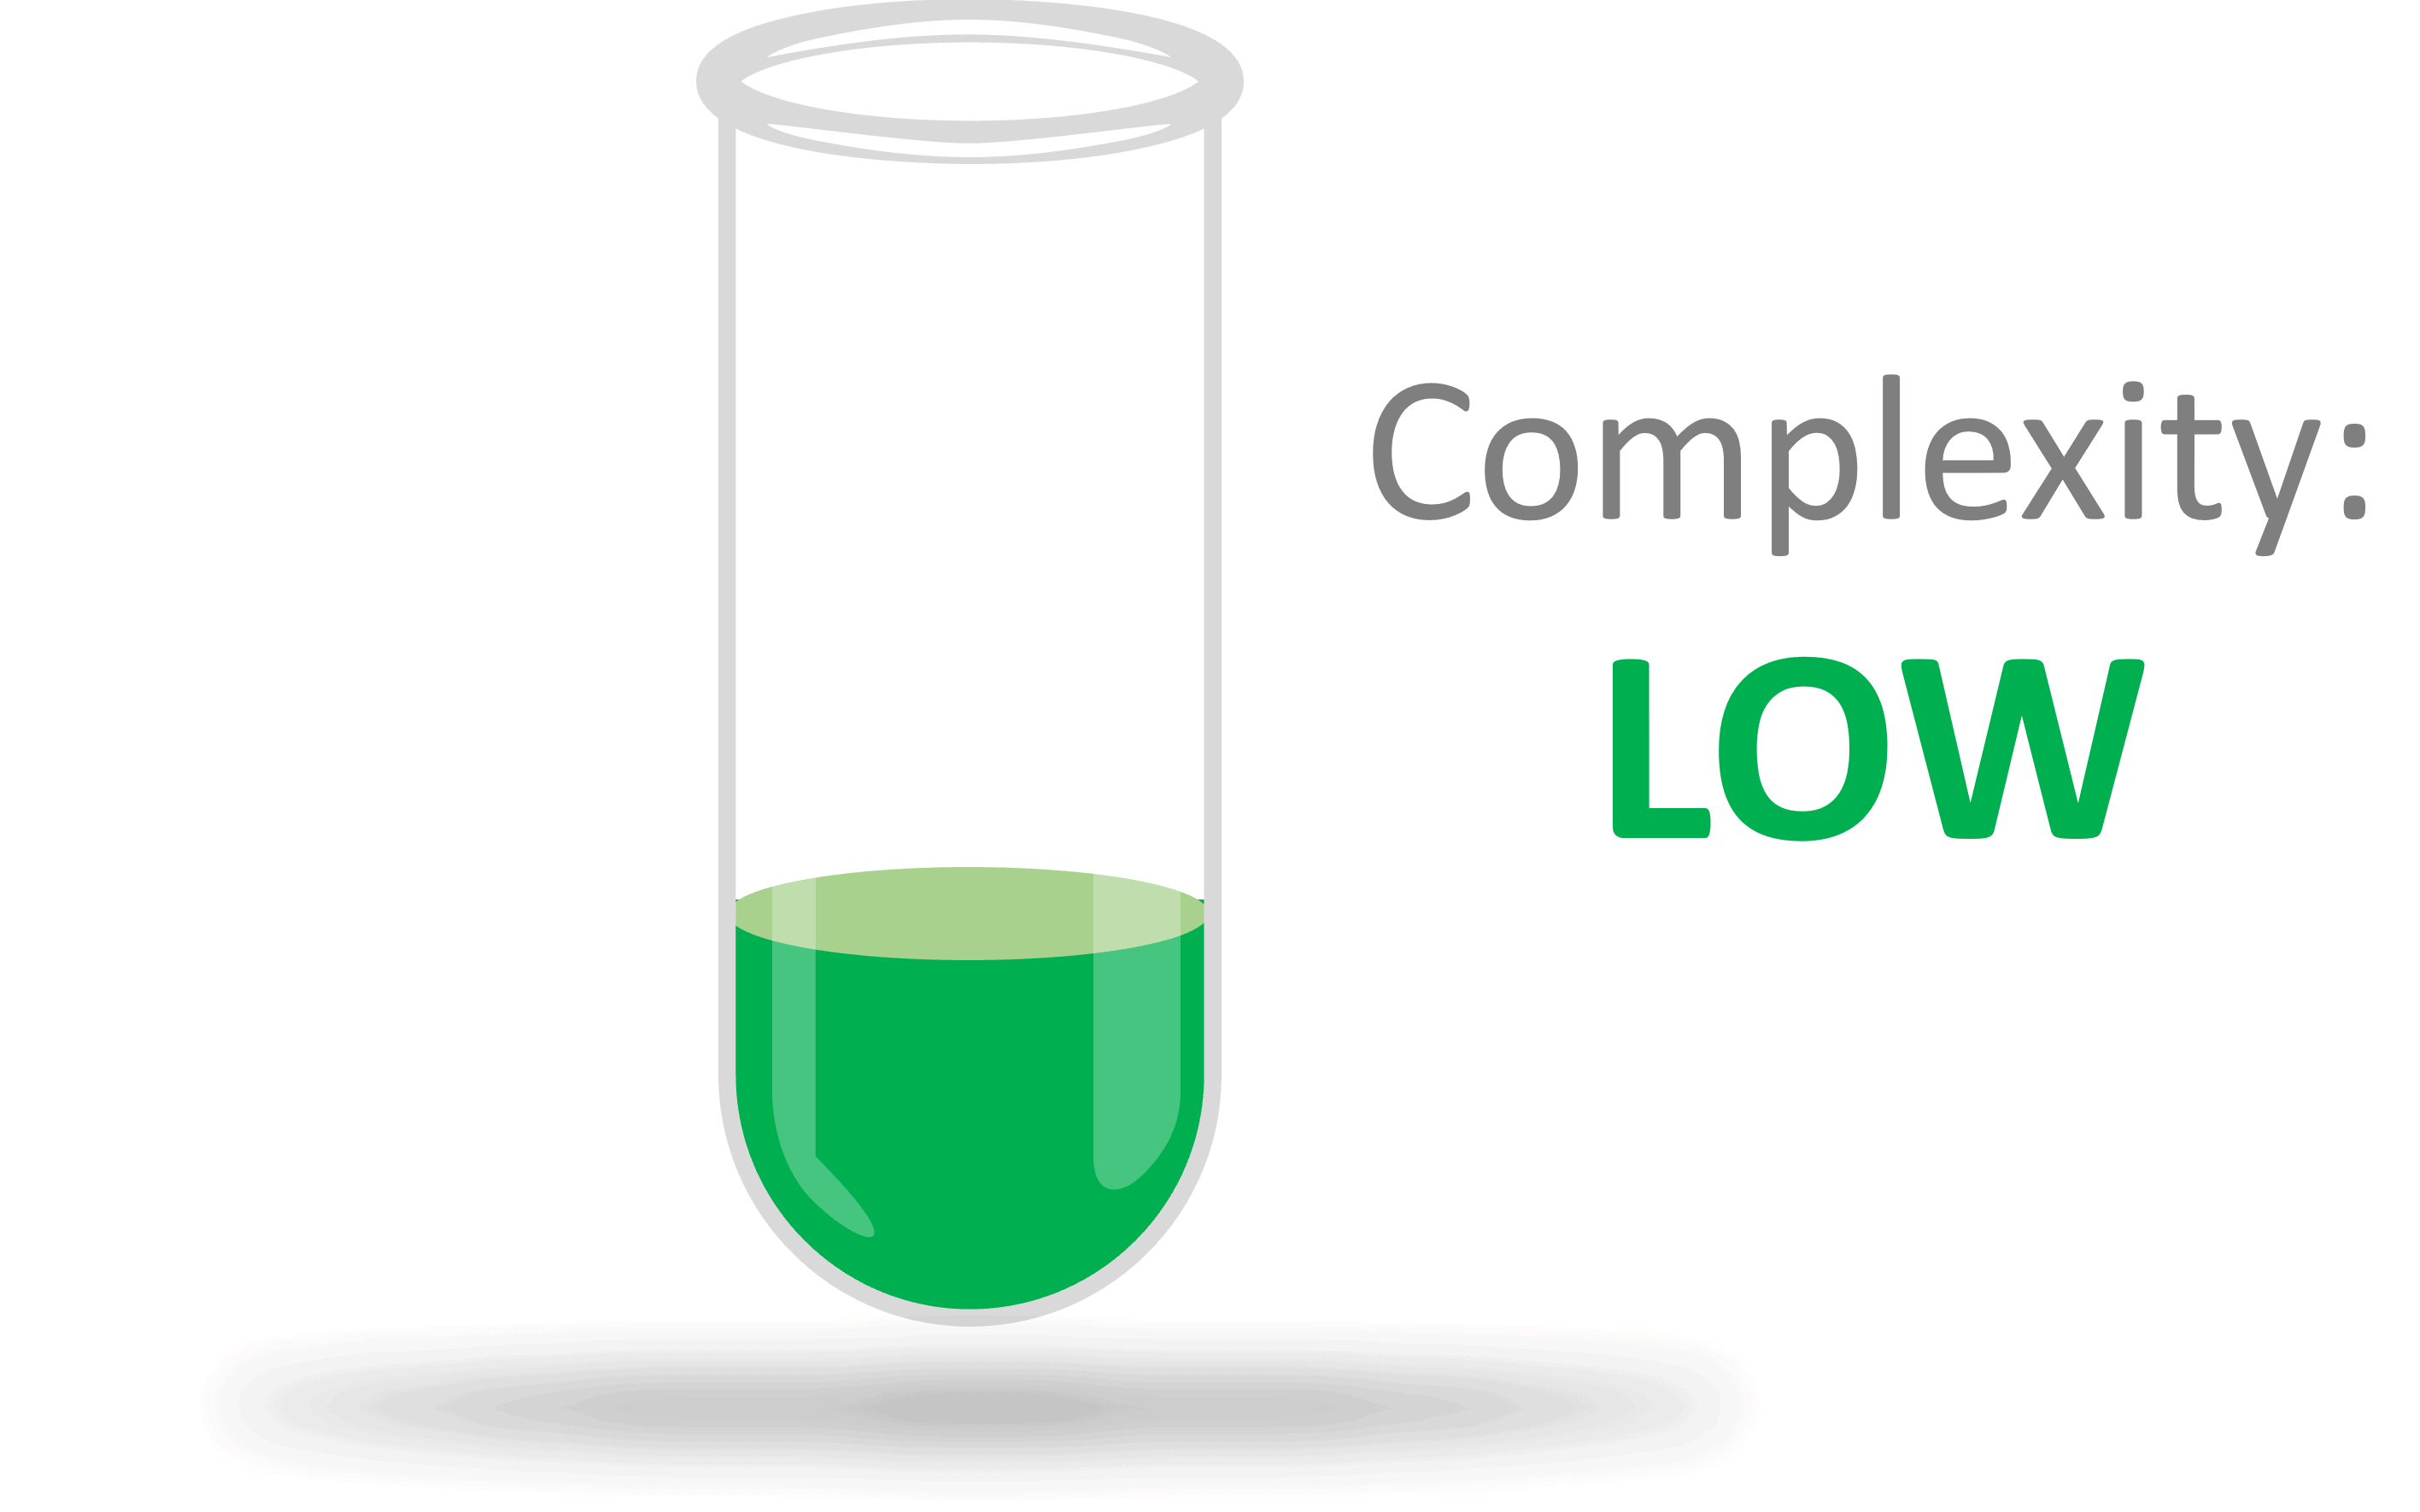
Hi, my name is Dr. Marta Gabryelska. And today I will give you some advice on how to power up your presentation with easy and free resources. I guess if you are watching this, you want to share your knowledge with the world. And one way of doing this is to improve your presentations. And then we really hope that you will share your amazing presentation on STEMcognito to reach your target audience. Before we are getting started, I want to share a little secret with you. Every science or stem communicator started just like you, they face their biggest fears in their first attempt to speak to the crowds. And probably all of them were self conscious, anxious and lacked confidence. And yet, they somehow made it. So here we want to give you some advice on how you can also become a better presenter and science communicator. We know that you are already an expert in what you do. Now, we just need to show that to the world as well. Okay, how do you do that? When it comes to science communication, preparation is the key. Before actually getting started, you need to make clear for yourself which message you want to bring across. What key information do you want your listener to understand? And why is it important to them? Make sure you know exactly what your listener will gain from your presentation. Will they be able to make better decisions for themselves? Will the knowledge improve their lives or they health? Should they appreciate the environment or climate thanks for your talk? Whatever the answer is, your whole presentation should focus on this key message. And each slide or detail detail should support this key message. This focus will now help you tell your science story. Now that you know what you are trying to say, you need to think about who you are talking to. Knowing who are you talking to is just as important as knowing your key message. Your audience is is the group of people who influences your decisions about content, emphasizes, organization, style, and tone. At STEMcognito, we are helping you with this. Instead of choosing your audience, we ask you to think about how complex your presentation is. Are you talking about fundamental concept of STEM topic? Or are you going into detail about the specific mechanism? How much background knowledge does someone need to understand your talk? Do they need to be expert in your field or can someone with a basic grasp of your topic, follow your presentation? So when preparing your presentation also think about the complexity of your topic and how much background your listener really needs. On STEMcognito, we have five complexity levels: fundamental, low, moderate, high, and very high. Videos of fundamental and low complexity should explain basic STEM concepts and are aimed at an audience that has no prior knowledge in your topic. On the other spectrum, we have high and very high complexity levels. These types of talks are for people that are experts in your field. They understand academic papers from your field, and you don’t need to explain too much background to them. Moderate complexity is not a bad choice either. That would be beneficial to other STEM professionals that are familiar with the basic facts, but are not experts in your field. So as you can see, however you communicate your stem, you can’t do it wrong. Just be consistent and stick to one level of complexity throughout your presentation. Additionally, to understand your audience, you need to realize you are the audience, use it. If you decided to use video format, remember that viewers are here to listen to you and look at your slides at the same time. Reduce the amount of text to the bare minimum, it’s really hard to read and listen at the same time. Use graphics sensibly and point your viewers to the part of your presentation that you are talking about. help them stay focused.
To guide them use either a laser pointer or animations and don’t overwhelm them with huge amount of figures in one slide. You can find more insights about how to prepare great presentations on Dr. Echo Rivera website. Take full advantage of programs you already have installed. PowerPoint, for example has many build-in features that can help you make more interesting presentations. For example, insert section. Here, you can click on icons. And it gives you an option to insert not only icons, this is the window that will pop up. But also images, cut-out people, stickers, videos, and illustrations. You can also insert audio. So music, you can use insert videos, and you can use screen recording or insert other media. If you see any images in this presentation there were most likely inserted through this option. Design option will also help you your slides to look more compelling. And you can use animations to highlight the most important aspects of your slide. But be wary and don’t overuse these features. The viewer is to focus on your message not on technical tricks. We live in a diverse world with people around us having their own struggles to make sure your content is more accessible, remember to use Alt text, adjust colors for colorblind people, use subtitles for people with hearing impairment. And remember that not everyone understand your language. Alt text is contraction of alternative text. It’s a short written description of an image which makes sense of that image when it can’t be viewed for some reason. It is read aloud to users by screen reader software, and it is indexed by search engines. Be descriptive and specific. Keep in mind however, that this alt text role can lose its value if your alt text doesn’t also consider the images context. Colorblindness, also known as color vision deficiency, CVD is a deficiency in distinguishing between different colors. It occurs when light sensitive tissue in the back of the eye, the retina, fails to properly respond to variations in wavelength of light, which enable people to see different colors. According to color blind awarness, color blindness affects one in 12 men so 8% and one in 200 women 0.5% There are an estimated 300 million color blind people worldwide, and that might include your viewers. You can read more about color blindness and about alt text on these websites. Lastly, your presentation needs a catchy title to grab your viewers attention. This title is the first impression that your audience gets of your video, they see it on the STEMcognito website or on social media. Hence your title needs to tell the listener what they can expect from your videos, and why they should watch your video instead of the video from that YouTuber they always follow.
Yes, finding a great title is difficult. And especially when you are not a native English speaker, like myself, are not great with words. Really, I get it. I have been there. But let’s use the strength we STEM professionals have. We solve problems and we are good at finding information. For example, here I found for you the visuwords website on which you can explore connections between words. Also STEMcognito is not leaving you alone with your word struggle. You can contact us and we will try to help you. The second thing your audience will see is your presentation thumbnail image. Thumbnails are reduced size versions of pictures and they have similar functions as abstracts have for publications. They give a first summarizing glimpse of the content of your presentation. The easiest way of creating this thumbnail is to save the first slide of your presentation in image format. Alternatively, pick or create an image that grasp the essence of your talk or just looks attractive and cool. We will then put this image next to your video and post it on social media to boost your video presentation. PowerPoint gives you an easy option to record your voice while you are presenting. When you go to the slideshow, pick record from current slide or from the beginning, it is worth mentioning that you can add subtitles straight in PowerPoint. However, from my experience so far, the algorithm is still not the best. When you click on record your presentation, this window will pop up. So here is the button to start recording, you can stop at any time and later you can replay it. When you start recording, there will be also a pause button. So you can always pause your presentation after even one sentence and just resume it afterwards. There are several features that I find very helpful. For example, when you put notes in your slides, which are just below the slide that you can see, these features, these notes can appear here so you can actually read your notes. So this is not like the life presenting, there is always a way to pause it. And you can read from the from your notes, so it’s really helpful. If you didn’t like your presentation. If you didn’t like recording, you don’t need to delete the recordings of all the slides, you have this option here at clear, will be clear recording on current slide or clear recording on all the slides. And I suggest just doing it one by one. And it makes it much more easy. You can use additional features if you do right click, you can see pointer options that I have here. So this is a laser pointer but you also can have pen. So we can have pen and this is pen and I will draw really horribly. This is pen. Okay, you can also erase it, so let’s erase it quickly. Okay, and back to the pointer. So you can when you use a pen, you can use a highlighter, these options are here. And when you use a pen or highlighter, there are several colors. Also in this setup, you can switch off your microphone, but also you can switch on your camera. And we will talk about it a bit in a moment. And you can watch yourself or you don’t have to. So this setup is really convenient for recording your presentation.
So when you have your presentation sort of ready, but you would like to add some additional pieces of video maybe recording of your face, and maybe something recorded in the nature, you can edit it really easily in for example, in this video editor here I have it in Windows, but I’m sure in different operation systems that will be different free video editing software. So if you have windows and you are using this one, you drag all your little videos or photos on everything to your Project Library. And then you can drag them to the storyboard and you can organize them and change the order of your bits of your video. And each setup each bit can be additionally altered, you can trim it, slow it down, speed it up. There are a few options, you can add also background music, like you could add to PowerPoint or custom audio, you can add audio here too. And then when you finish organizing your presentation, you can also add a start slide with title and the end one. You just click on Finish video and this software will create this final video for you, you can always still come back and edit it. Most of us have shattered on hearing the sound of our own voice. In fact, not liking the sound of your own voice is so common that there is a term for it. Voice confrontation. And there is a simple explanation for it. When you talk our ears received a sound wave of your voice in two different ways. Externally by air conduction, and internally through our bone structures. This bone conduction of sound waves delivers rich low frequencies that are not included in air conducted vocal sound. So when you hear your recorded voice without these frequencies, it sounds higher and very different. And because our recorded voice sounds so different from what our brain expects, we perceive it as non self and we don’t like it. Also, when you talk in a language that is not your native language, it gets even weirder. Because your brain does not recognize the non native language as your identity, we perceive this version of ourselves even further from our true selves, and hated even more. But the thing is, this is how you sound to others, they are used to it, it’s like a secret that you didn’t know about, and everyone else does. And it gets easier when you practice. I know that from experience, you get familiar with how you sound. So the practice is the cure. I really hated my first presentations that I made and recorded my voice, but it really gets easier with time, trust me. Now showing your face in the video, it can be a bit challenging, I just absolutely really you don’t like it. But I thought I should show myself since I’m talking about overcoming fear of your face. It’s exactly the same like fear of your voice. It’s just you don’t know really, you don’t look at yourself everyday unless you really spend a lot of time looking in your mirror. But we really don’t. So this is how you look like. And this is how other people see you. It just you didn’t know about it. So maybe there might be a simple way to overcoming the fear. Maybe you have a friend that can participate in your scicomm journey, a colleague, maybe a helpful plant that can feature with you or maybe your pet. So this is the option but it also it takes time. And in STEMcognito You don’t need to show your face if you don’t want to, you just record your presentations without showing your face and it’s completely fine. So yeah, time to end the recording with my face. Video files can be very large, and that can be a problem for uploading and hosting. Unless you need the highest resolution possible, making videos smaller is better for everyone. They reduce the bandwidth usage and upload time and there is less buffering on your viewers and file compression reduces the amount of space needed to store information.
It will make your video load faster and be easily available to people with slower internet connection. To make your PowerPoint file smaller, click on the image you want to compress, go to picture format and choose compress picture option. Remember to delete cropped areas and 96 PPI is completely sufficient for your video. Take the box to apply these changes to all images in your file. We don’t want to leave you alone on your stem communication journey. Here’s a list of some resources that you can find useful. You can pause now the video and jot it down or you can just take a photo with your phone. We will also put these resources in the STEMcognito Resources website. All also if you are lucky to have some funds, check our partners section. They organize training or can just help you out. And the most important of all, believe in yourself, you can do it. If I can do it, you can do it. I believe in you. So believe in yourself.
Thank you for watching with STEMcognito. Find more videos using the search box or the drop down menus above. If you think there’s something wrong with this video, please use the Report button to inform the STEMcognito team. Questions about the video content should be directed to the researcher. You can find their details below. Go to our submission pages to find out how to submit your own video and don’t forget to follow us on social media.